Wednesday, 28 January 2015

Nail Looks and How To!

Sorry I've been away for so long! I recently got a new job and haven't had any energy! So heres a post I wanted to put up on Sunday / Monday!


This will be three separate nail looks, two of which were modelled on my mum and the last was done on my nails. 

So for the first look; 
To create this look, I used a white nail polish by the colour workshop that came in a gift set, a clear base coat that half of the name has came off and a glitter polish from Poundland.
I also have a nail file, to shape the nails, and a buffer set to increase blood flow to the nail and increase nail health.


The picture on the right is my mothers nails before buffing them, and the second on the left is after buffing. I do this before any nail look as it gives a better foundation for applying nail polish. After this I applied the clear base coat, to prevent any nail staining. To me this is like priming your face, its essential to create a nice base for a good nail look.


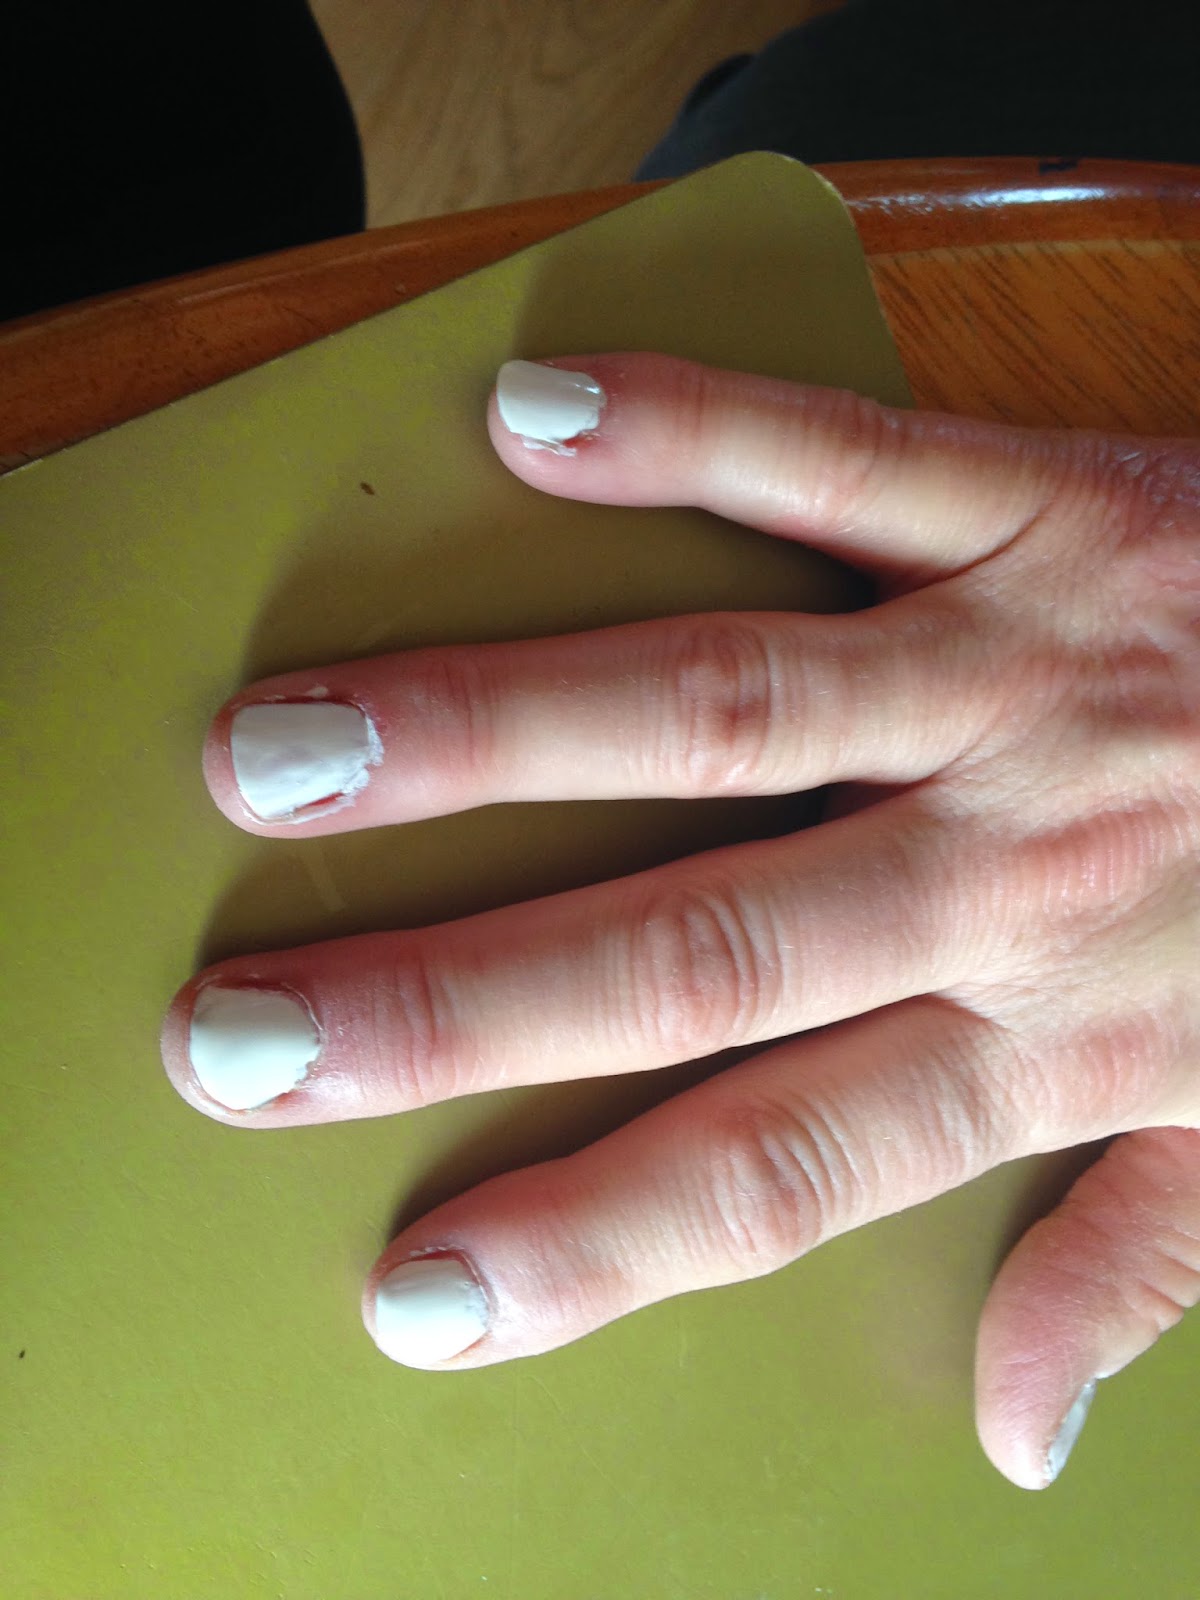
Next I applied two coats of white nail polish. This is the main colour I wanted to use in this look. Once this was dry I applied the glitter polish on the ring finger, to create an accent nail. I also applied a small amount of glitter to the tips of the other nails to add some colour.
The finished look is pictured on the left.


The next nail look I created used;

A Poppy nude nail polish I got in a set, and the clear coat and glitter mentioned in the last post. It also used the files and buffers from the last look.


First of, I applied my base coat, after filing and buffing my nails. I then applied two coats of my nude polish to my nails. Once I applied the two coats of nude polish and that had dried, I applied the glitter polish to one nail, to create an accent nail and then to the tips to add an eye catching detail. This look lasted without chipping for about three days. 


The last look I created used;

This look used a glittery nude polish from O.P.I, the nude polish and clear polish mentioned in the last post. I also had the file and buffers, so that I could properly prep the nails.


First to create this look, I applied two coats of the glittery nude O.P.I polish, then after it had dried I applied the nude polish to the ring finger, to create an accent nail. After this I added the nude polish to the tips, to add an eye catching detail.


So there is my (very short) nail how to post. Sorry if it isn't very detailed, but its literally all I done to create these looks! 
If you want any more details on these products, or any other questions, leave me a comment and let me know!
I hope you enjoyed reading this, and soon I will have a Haul post up, with a possible video!
Until Next Time
Bronagh x

Sunday, 25 January 2015

My Top 5 Personal Beauty Essentials!

As My Last Essentials Post, I've chosen to do my Top 5 Personal Beauty Essentials! 

These will all be items that relate to personal beauty.


Number 1 - Green Tea

I have green tea on here because its the best detox agent you can get. By just having one cup a day you can help reduce water weight, clear skin and detox your body. I aim for 1 - 2 cups of this little miracle a day. Also if you have this half an hour after a meal, it can aid digestion, which can help with weight loss. I noticed a major difference when I first began drinking this kind of tea a few years back, but since I'm not drinking it as often any more, I'm loosing some of its benefits. I would really recommend having a cup of this a day just to help your body remove excess toxins and clear up your skin. 

Number 2 - A Good Tooth-Brush & Toothpaste

These are essential not just for beauty, but good oral hygiene. Your mouth does a lot for you, so its a good idea to look after it. Brushing twice a day reduces the chances of gum disease, plaque build up and tooth decay; but brushing with a bad brush or bad toothpaste won't be too beneficial. I personally use an electric toothbrush, that tells me when I'm finishing brushing. I love using this as my mouth feels super clean after using it. I also go between two toothpastes; Colgate maxfresh with mouthwash beads and a sensitive toothpaste. I have a few sensitive teeth, but not enough to require the constant use of a sensitive toothpaste, so I use it once a day at night and the normal one in the mornings. By doing this I'm making sure all my teeth are healthy. Besides what can be a better impression than a great smile?

Number 3 - Deodorant

Contrary to popular belief, not everyone needs a heavy deodorant, but for those that do its an essential part of your daily routine. I have an anxiety condition, and one of my main issues is that when I feel very anxious I sweat a lot, but my skins also really sensitive, so I make sure to always buy Sanex's sensitive deodorant as it offers me the best protection and it doesn't irritate my skin. For me knowing that I do have a problem with sweating, knowing that I have a good, working deodorant is very important; not only do I know I still smell fresh, I know that its protecting me from horrible pit stain-age.


Number 4 - Dry Shampoo

I use dry Shampoo a lot more than I probably should, but to me its essential to have. I have oily hair and it only stays clean for about 30 hours before it looks horrible. I don't want to wash it everyday as that wouldn't be a good idea, so I use dry shampoo to try to hold it over. I also use this as a styling tool if my hairs too soft to stay sitting in place. Dry shampoo can also be used to add volume to super flat hair, so it has a number of really good uses! Now it also comes with the option of buying it for your hair colour so there isn't any huge white lines in your hair or root area! Personally I'm a huge fan of Batiste's dry shampoo and only tend to buy it.

Number 5 - Perfume

I adore perfumes! I love going into drug stores and spending ages in the perfume sections smelling all the new ones and finding ones I like (then adding a sample sheet I've sprayed into my bag so it smells nice too). Every Christmas and Birthday I always seem to be handed new perfumes so my collection is rather large, but I'm not complaining, I'm spoilt for choice! I'm currently obsessed with one I got from my boyfriends parents called "Romantic Embrace" (Pictured) it just has such a lovely, sweet, flowery smell that I can't get enough of. (No I didn't have to go and sniff it after writing that... maybe) I have no idea where to buy it, but if you see it, you have to spray it, its so divine. I also have a minor obsession with Daisy by Marc Jacobs at the moment. But perfumes can be the perfect finial touch to any outfit for any event!

I really hope you've enjoyed reading this, and the whole essentials set. If you have, let me know in the comments, and I might do another for clothing or types of products, like essentials from certain brands. Thank you so much for reading my posts and supporting my blog!
Until Next Time!
Bronagh x 

My Make-up Essentials!

So as my Second Last Post in My Essentials Posts - My Make - Up Essentials is now Coming Your Way!


This post is all about what I consider a make - up essential and what I always have to have in my Make - up bag, just incase!

I thought it would be best if I organised this by where I apply the product. This means it should be easier to read and less messy. So lets get started!

Facial Products;

The first product I ever apply to my face is my Primer. A Primer is super essential to me. It keeps my make - up looking nicer for longer, it helps it sit nicer and it improves on my very uneven skin tone. With the exception of the days where I use my BB Creme I always have a Primer on my face. I really do recommend these types of Products to anyone with an uneven skin tone, or redness as it can really help with improving that. 
The next facial product I'd be applying would be my Foundation. This is usually very high on my list of things to repurchase as I go through it quite quickly. A good foundation can really set off a great make - up look, where as a bad one can ruin what could be an amazing look. My biggest tip for picking a foundation is testing it on both your wrist and your jaw line; this way means you'll know for sure if you like the feel of it (from the wrist test) and it's the right shade (from your jaw line) if either feel bad, its not the foundation for you.

After this, Powders come into play. I use some form of powder every time I apply make - up. I have three types currently at my disposal, one to lighten make - up that's too dark, one to set it and one to highlight my skin tone. Sometimes I'll only use one at a time, or I will use two or all three. I choose powders mostly by brand, but also by how light they are. I always choose powders a shade lighter than my foundation, to make my skin look brighter, and to attempt to counteract my redness. My top tip for choosing a powder is;- try to find a shade similar to your foundation, in the foundation section, they apply the powder you are considering over it, this way you'll have a better idea of what affect it will have.

My last facial essential is BB Cream. I adore BB creams and will sometimes use it in place of a primer. I'll use this more if I'm going for a very natural look, just to care more for my skin, and add a slight amount of pigment. My only issue with them is, how hard it is for me to get my exact shade. I'm quite pale, and most fair shades look darker on me than they should, but if I use the correct powder over the top, you wouldn't know (This is why I advise using the powder tip) If you use foundation a lot, I would advise maybe using a BB Cream once a week as a treat to your face. This way you can still have all your make up on, but it will be helping your facial skin as well. 

Eye Products;


My first eye product that I always use without fail is Mascara. I always wear mascara on my eye lashes as I love the effect it gives my eyes. My eyes are my favourite facial feature so I love adding a voluminous mascara to really make them pop. I've been using the same product to achieve this for a while, but as its beginning to run out, I'm looking into purchasing a new one to give the same affect, or better.  


My second favourite would definitely be Eye Liner. From my early teens I've loved eye liner, but only within the last couple of years have I actually learnt that less is more with eye liner! It really should be used to line your eyes, not cover them completely! Since learning this, I've been trying to experiment more with different colours of liner and different styles. Usually if I'm heading out I'll use a basic lining technique or flicks to empathise my eye make - up. I don't wear this product every day, but when I do, I try to make it look as good as I can.


Lastly is Eye Shadow. I only recently got properly into wearing eye shadow again and I'm currently awaiting the delivery of my new eye shadow palette. Once it comes I'm hoping to experiment more with colours and shading to create different eye looks. I'd like to be able to use this to enhance my eyes even more and maybe make it more of a day to day thing


Next is Lip Products;

The first product I tend to apply to my lips if I'm doing a lip look, is always Lip Liner. I love using this as a base for lip colours and to add definition to my lips. I like to think it helps the colour stay that little bit longer and stops it from straying too far from my lips. If you have thin lips and you want to make them look slightly bigger, I would definitely advise trying a lip liner, then a lip plumper to increase them in size slightly.
The next step would be the obvious one of Lip Stick. Every time I do lipstick I seem to always do a very neutral colour or a red colour, there is no in-between! I am planning to expand the colours I have to try out others and see how they suit my skin tone, but for now I'm happy having lovely red lips. Also if I'm using a non - matte lipstick I'll tend to dust some translucent powder over it to give it a more matte affect. 
Another lip product I use more if I'm going for a natural look is lip balm. I tend to mostly use a Vaseline lip balm as I like how well they work, and they do have the red tinted one. I use these if my lips are feeling too dry for lip stick, and I feel they would benefit more from a balm. My main lip balm advise is to apply a decently thick layer onto your lips before bed time, as you will wake up with super soft lips, ready to face the day, and any make - up look.


Lastly, Brushes and Sponges;

I have a varied selection of brushes and sponges, but to not bore you with extreme detail here is a basic picture of the ones I currently have;

All of these have there own uses, and product, that I use them with. I try not to mix the products and brushes too much, so I don't have smudges of the wrong colour in places. I've ordered a new set of brushes, so I'll have more choice, and once it comes I'll update my brush collection for you guys, in the least boring way I can think of. 


If you've read all this, thank you! I hope you've enjoyed it and if you have any questions, leave me a comment and I'll get back to you! I hope you're having a wonderful weekend!
Until Next Time!
Bronagh x

Saturday, 24 January 2015

My Hair Essentials!

Another of my Essentials Lists is My Hair Care Essentials!


As a qualified hairdresser (not practising however) my hair is extremely important! This list will be all the essentials I use on my hair.


The First Item on this list will be Shampoo and Conditioner
These are the most critical of all hair care essentials, without shampooing and conditioning your hair, nothing will make it look nice. To create any style, you need healthy, clean hair. Shampooing and conditioning your hair at least once a week can help maintain hair health. I currently use Herbal Essences as I love the effect it has on my hair and it isn't too expensive. Since switching to this brand, my hair has became much softer and shinier.

Next is Conditioning Spray and Heat Protectors
Both of these may not be essential to everyone, but to me, I couldn't be without them. I use an extra conditioning spray on my hair as it can become very dry and this helps combat that; however I do recommend anyone who uses heat on their hair, even if its just to blow dry it, uses a heat protector too. Heat protectors protect hair from heat damage, which is actually the most common form of hair damage after chemical damage (from over colouring hair). Both of my products are by Schwartzkopf and they would be my favourite product brand. I buy my hair dye from them as well as it gives me the best results. One of these items (The conditioning spray) is a professional exclusive, which just means you need to go to a professional wholesalers to purchase it, the other (heat protector) I bought in a discount store.

Another treatment I always have to have is Argan Oil

I never used to Argan oil in my hair until about two months ago. I used to think it weighted my hair down, and made it look lank and greasy, when really I'd just been using too much. It really is only a pea-sized amount that is needed only on the ends of your hair. I tend to use this more on dry hair or before shampooing, so it melts onto my hair fibre. I would only recommend using this once a week, as using it too much could leave your hair looking lanky and greasy, which isn't the desired affect. If you really can't stand Argan oil, Moroccan Oil or coconut oil is also brilliant for hair!

Now that treatments are out of the way, your brushes and comb choices are also important!

You know yourself what your hair is like. Personally I have a lot of medium hair, but its fine in places; because of this, I use a wide tooth comb on my wet hair, and a denman brush on dry hair. I would never recommend using a brush on wet hair unless its a Tangle Teezer or a Wet Brush. Using a brush on wet hair can damage the hair fibres and that can cause breakages at the root of your hair. This means that you would have damaged, unhealthy hair growing down, which could lead to some hair loss, not a lot, but a slight amount more than normal. If you have very fine hair, using a wide tooth comb when your hair is wet, would be a brilliant idea, and investing in a soft brush for when your hair is dry. Thick hair would need the likes of a tangle teezer when wet and a Denman brush or paddle brush when dry. Using the right brush for your hair type can help keep hair healthy and keep breakages to a minimum.

Lastly is Heated Appliances!

Your heated appliances for your hair range from your hair dryer to straighteners, to curlers to heated rollers. My essentials in this category are;
  • A Hair dryer
  • Straighteners
  • Curling Wand
  • Crimper's
I own all of these, and I have more than one of some of them.
First of, a hair dryer is nearly essential once your hair reaches a certain length, or if you need to be somewhere quickly after a shower or bath. Always keep a hair dryer on the middle temperature when drying hair, to prevent damage. Also using a larger round brush for longer thicker hair is always a good idea, or a paddle brush. Short hair would benefit more from a small round brush or vented brush, as they are easier to work with in short hair.

Straighteners come in all shapes and sizes now, meaning people with shorter hair can get a smaller pair which could be easier to work with, and people with longer, thicker hair can get straighteners with larger paddles, to help smooth out their hair. All of this means that there is a lot to think about when buying straighteners before you even look at the make! I have always had a preference for Corioliss Straighteners, as they work well with my hair type, however GHD, Cloud Nine and BaByliss are all also very good makes. It all depends on personal preference, and what makes work well for you. If you are really unsure, your hair dresser would be more than willing to help you.

Curling wands come in a lot of different styles, just like straighteners, my own curling wand has a guide on it to help create a curl. I prefer this kind as I find it makes it that bit easier to style my hair. Short hair would benefit from a slim wand, with a clip grip on it to help hold the hair; while longer hair would benefit from a large barrel without a grip as you would twist it around. Curling your hair takes practise before you start getting it right. Always make sure to monitor the temperature of the curling iron and use a good heat protector, as the heat can cause extreme breakages in the hair. 

My last heated appliance is my all time favourite, my crimper! Crimper's were much more popular in the 80's and 90's but are still used today for root volume or an edgy look. Whenever I crimp my hair I do it in small sections throughout my hair for a textured affect that's really eye catching. Crimping hair at the roots can help add a lot of volume, and aid back-combing; but make sure to be able to cover it with another bit of hair if you don't want people to see the zigzag pattern! I have used these to style my hair all over, and it came out looking very thick, but the texture it had was amazing. I was able to back-comb it much easier and it stayed in place longer.


I really hope you enjoyed reading about my hair care essentials and how I use them! If you want to know more on any of the products, such as prices or where to buy, leave me a comment and I'll let you know to the best of my knowledge!
Until next time!
Bronagh x

My Nail Care Essentials and Favs

Next in My essentials List is all my Nail Care Essentials and Favs! 


All these items are on my must have lists whenever it comes to my nails and at home manicures and pedicures! 


First off, is a clear base coat. 

This is pretty much essential for any nail art. This prevents the colour staining your nails (stained nails are not pretty) Plus they can also be used as a top coat to seal in the colours after! These are all usually very cheap to buy depending on brand, they also are available at all beauty outlets! Buying a cheap clear coat polish isn't a bad idea, as it will run out faster than everything else.


Next is a selection of coloured polishes!

This is another obvious one. You can't paint your nails or do a manicure without some coloured polishes. These can be bought anywhere from the likes of Poundland to Professional Beauty Outlets. Like the clear polishes these also all range in price with the cheapest being near to £1 but more expensive polishes hitting into the £10 - £20 range.  Having a few colours to choose from can make doing designs or patterns even more fun, so make sure to have a nice selection of your favourite colours!

Another Essential Nail item is a buffing set!

Buffing your nails before applying a polish can extend the life of your manicure! This also increases the blood flow to your nail, which can help with growth. I use mine about once a month, to maintain healthy nails. These can be very cheap if you go to a drug store, and they last for a good while. I've had mine over a year and it only now really needs to be replaced. I believe my set cost me around £7 for both items in Sallys, however you can buy a four in one (the white and grey file) in Drug stores for around half that price.

The Next Essential nail item is a nail file

Nearly every female owns a nail file, or five! These can be used to shape nails, remove rag nails and keep your nails looking amazing. These can be bought nearly everywhere, and can be as cheap as a pound! They also range from the larger sizes (pictured) to small, purse sized ones. You can also get a metal file or a material one! Personally I love material ones with little designs on them!

Another Essential, that just happens to be my favourite - GLITTER!

 I adore glitter, and doing glitter focus nails! I just think it can spice up a whole nail look! I own a few glitter polishes at the moment, but plan to stock up soon so I have even more options when I want to add some sparkle to a look. Adding an accent nail to a look can really add some character. The only downside to glitter nails is attempting to remove it. However if you soak the nail in some nail polish remover before hand, it will help a little bit!

Now for my Essential Nail Art Tools!

There are three tools that everyone who loves nail art should own; a dotting tool, a line brush and a fan brush. Each of these has its own uses and each can be really helpful in creating a beautiful nail look. I use my line brush the most often for creating "Firework Nails". I have used my dotting tool a couple of times to create poka-dots and I only recently got my fan brush, and I can't wait to use it to create a beautiful two tone nail!

Another Nail Care Essential is Nail Scissors!

Everyone owns a pair of these, even if its nail clippers! These are essential for keeping your nails at a length that suits you and your life style, or even for coping with broken nails. Keeping your nails all at the same length will make your overall nail look, look much better and neater than if they all varied badly. Nail scissors are very easy to come across and are available in most drug stores and beauty outlets. A good pair can last a long time, so don't be afraid to spend a lot on these.

A Pedicure Essential Everyone Needs is a Toe Divider

As silly as it sounds, a toe divider can be so helpful when painting your toe nails. It not only separates your toes to prevent them smudging against each other, but it makes it that little bit easier to paint your toes! These are very comfortable to wear and you can walk while wearing them, so you don't have to sit and wait for your nails to dry. 

The Most Essential Part of any Nail Kit - The Polish Remover!

This should be in every nail kit! Nail polish remover is essential when it comes to doing your nails! Not only do you use it when you want to change your nails style, but to fix any mistakes you make along the way! An Acetone free remover is always best as its less aggressive toward your nails and skin. This can also be bought extremely cheap, as discount stores tend to sell it, so it doesn't have to break the bank, price wise.


I hope you enjoyed this post about nail care and the essential things to have in your nail kit! If you want to know more about the products or brands I prefare, leave me a comment and I'll get back to you!
Until next time!
Bronagh x