
Hello! Today is that wonderful day of the week where I clean all my make-up brushes!
I tend to do this every week or every other week depending on my schedule, and I truly recommend everyone cleans their brushes at least once every two weeks.
Brushes gather up a lot of dirt and oils when you use them, you make think that just because you keep all of them desperate, and only use them for one product, they won't be as dirty, but truth is; they really really are. By cleaning brushes at least once every two weeks you will be removing any excess oils, dirt or left over product on your brushes.
You should wash your brushes every week however if you have oily or very spot prone skin. This will help prevent recurring break outs and maybe even help your skin.
What you will need;
- A clean, dry towel to put the washed brushes on
- A mild shampoo, soap or baby shampoo (I used a mild lavender soap on some brushes and a mild shampoo on others)
- A sink, filled with warm, not boiling, water
- Your dirty make-up brushes!
Step 1


Get the shampoo you plan to use or the soap (mine are pictured for reference) and the first brush. Damp down the brush slightly. Be careful with how much of the brush you put into the water. The glue that holds all of the brush together is very sensitive, and if your water is too warm, you could damage it and cause them to fall out.
Step 2

Add a small amount of either shampoo or soap to the brush. Dip it in the water, and then using your thumb and forefinger, rub it into the brush to create a lather. Do this gently and in a circular motion. Don't get scared when the bristles move out of place, this can all be corrected. During this you may notice the lather turning an Orange colour, again don't worry, that's the excess product on your brush. Once you have a good lather, continue this motion under the water and rinse your brush.
Step 3
Place the brush flatly onto the towel. Turn it occasionally as it dries to help the brush keep its shape. During this step, also fix any bristles that moved out of place. If they don't move freely, damp the brush a little and try again. Continue these steps for all powder and foundation brushes.
Step 4


 This next step covers an eyebrow brush, which I have pictured. For this you may need a nail brush. To clean this brush, I used my mild soap. I placed a small amount of the soap on the plastic side of my bush. As you can see it had some left over product on it. I gently rubbed it to remove the top layer of product. After this there was still some left so I added some soap to my nail brush and gently used this to remove what was left of the product. For the softer bristles I used the same technique I mentioned in steps 1 -3. I then rinsed the brush and placed it on the towel with my foundation and powder brushes.
Step 5

 This step will cover eye make-up brushes. The first brush pictured it a bristled eye make-up brush. These are cleaned in a very similar way to Powder and Foundation brushes. First of all, dampen the brush, then add a pea sized amount of either mild shampoo or mild soap. For this brush, I used the mild Shampoo.
 Rub this in a circular motion, to remove any dirt or left over product. Then rinse the brush, and if necessary repeat the cleaning process again. Next I cleaned a sponge eye brush. These are extremely easy to clean. Dampen the brush in warm water, then add a small pea sized amount of mild soap. Rub this in a circular motion, going upwards. Once you have a good lather, rinse the brush. This should remove a large amount, if not all, of the dirt on the brush. Once this is done, place all eye brushes on the towel.
Step 6

 Next I moved onto my lip brush. This one is the easiest to clean, but tends to hold the most product, which tends to stain it quite badly. First, as always, dampen the brush, then add a very small, smaller the pea sized, amount of mild soap or shampoo to the brush. Rub it in an upwards circular motion to remove as much product as possible. I struggle to remove all the product from this brush, but at least by cleaning it, I'm preventing the spread of any germs or infections it may be carrying.
After this step, that should be all the brushes done. By this point my towel looked like this;

And my water looked like this;

Once your water starts to turn this colour, I recommend emptying the sink and refilling it with clean water. This will make sure all your brushes are properly cleaned and not still dirty from dirty water.
Next I moved onto my Sponges. These are the most difficult items to clean, they quite literally hold all the product that is put in them, which will mean that even if they are clean, they will still remain coloured in certain areas.
Step 1
Refill your sink with clean, warm water. This is very important as the Sponges will absorb the water they are placed into.
Step 2
Add mild soap to the water. This should also help with the cleaning process, as the sponges will absorb this as well.
 Step 3
Place the sponges into the water. Swirl them around a bit and make sure they are very wet before the next step.
Step 4


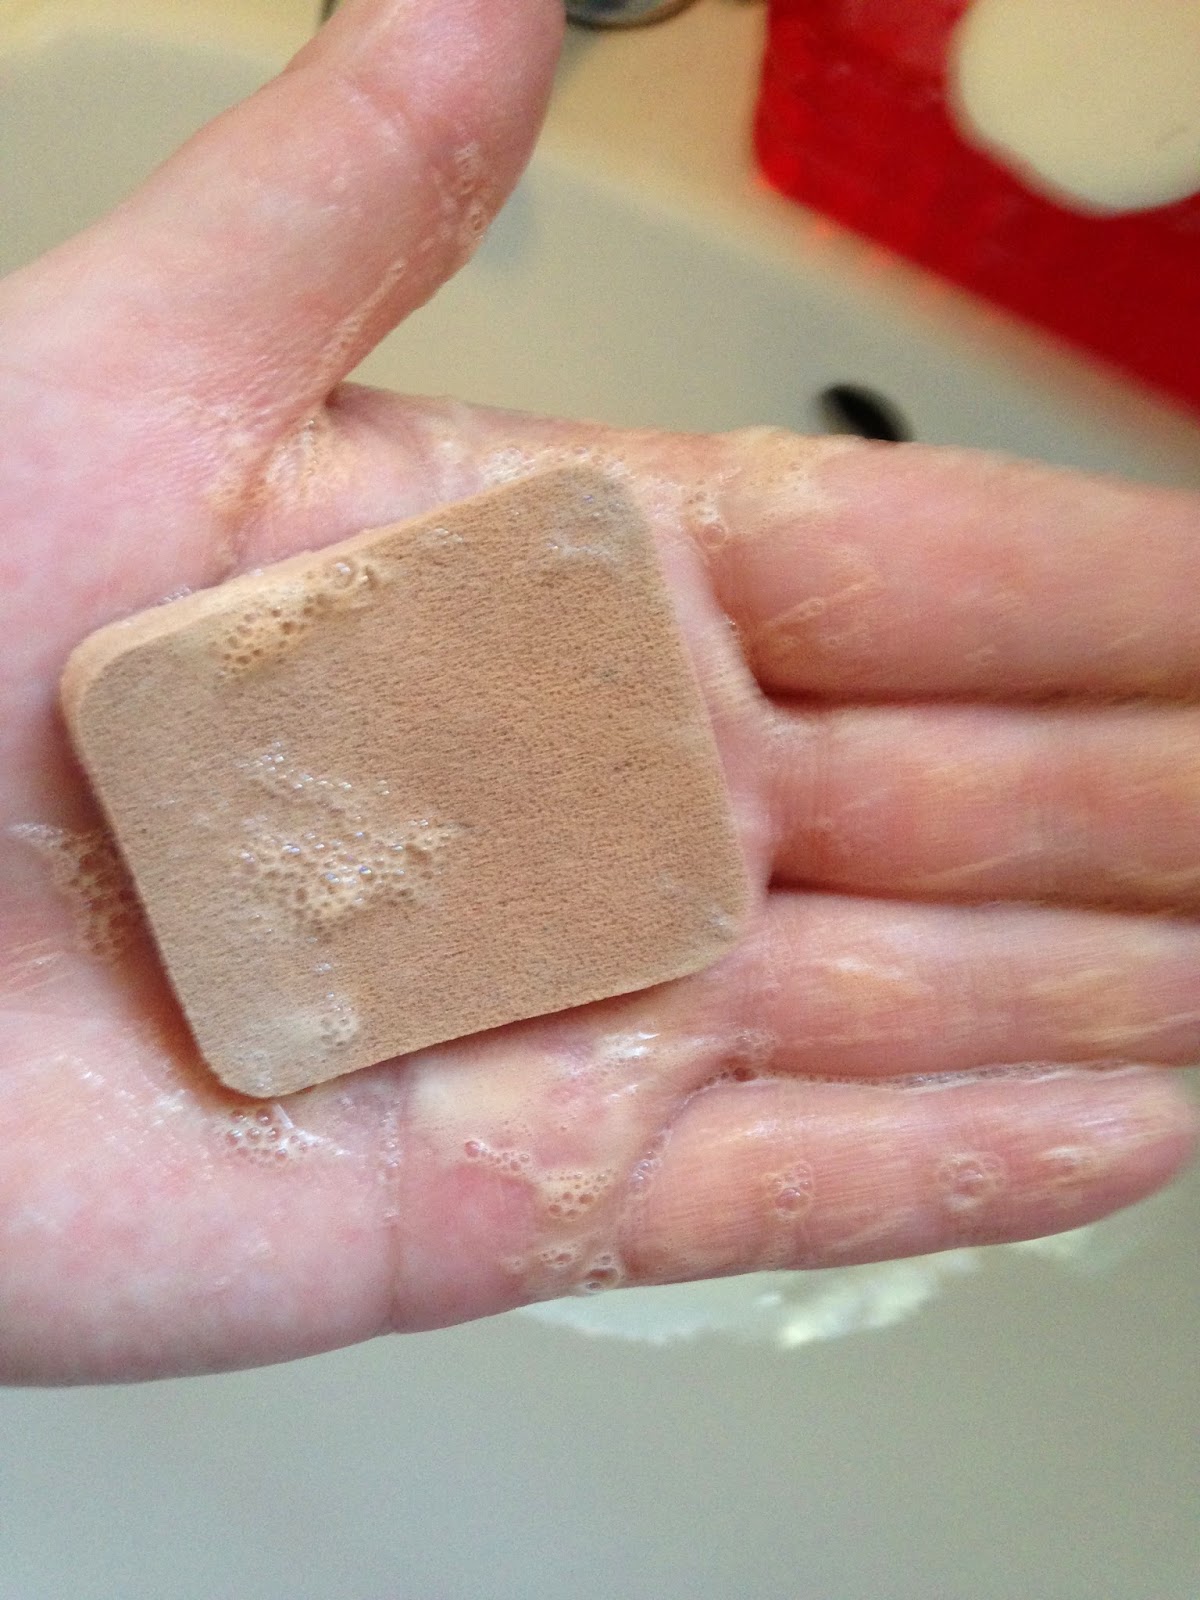
 Take out one sponge at a time for this step. Take the sponge, add a squirt of the mild soap or shampoo, this should be enough for a slightly soiled sponge. I will be providing the amounts for a badly soiled sponge. Dampen the sponge a little bit more, then move your thumb over the sponge in a circular motion, to create a lather. Keep doing this until the lather is strong and a slightly orange colour, as this means the excess product is being removed. Place the sponge into the water, and continue with this motion. Bring the sponge out every so often to check what colour the water coming from it is. Once this water is clean and clear, that means the sponge is done. Repeat this step with all the lightly soiled sponges, then rinse them under warm water before squeezing and placing them onto the towel.
Step 4 for a Heavily Soiled Sponge


A heavily soiled Sponge is one that either has not been cleaned in a long time, or is the sponge you use most often. These will hold the most amount of product and it will be much harder to remove all the staining from these sponges.
First of soak these sponges in clean water with a mild soap for 5 - 15 minutes. I find this can really help with removing the majority of the product. After this, remove them from the sink, rub them for a few minutes in a circular motion, and then again within the water. After this change the water and dampen the sponge again. Now add a small amount of mild shampoo, this will be used to remove what's left of the dirt on the sponge.
Next rub the shampoo until a really good lather is created. This lather will most likely be an Orange colour. Keep doing this on both sides for a few minutes. After this, repeat this motion under the water. After this, bring out the sponge and squeeze it. The water should be running clear. If it isn't rinse the sponge under warm water, and try again. If it still isn't repeat the shampoo step again and it should clean it. This should leave the sponge cleaner and a lighter colour.
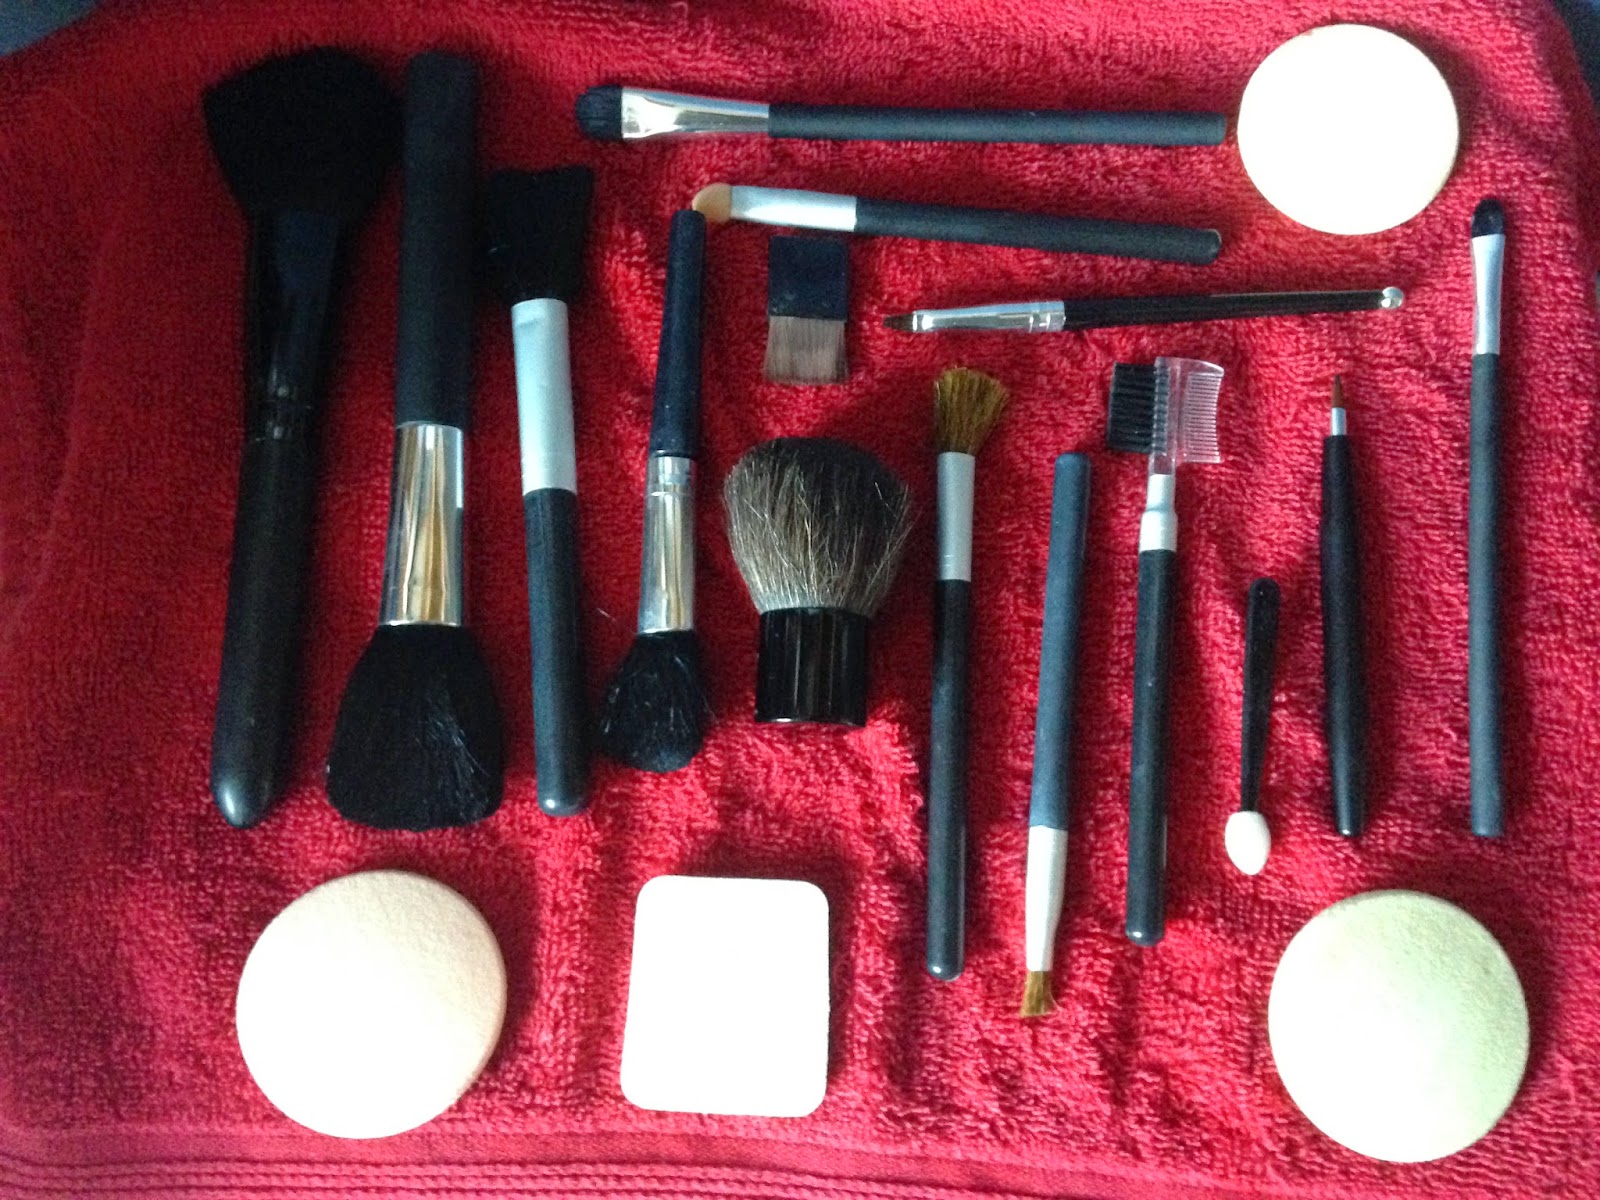
Now that should be all your make-up brushes and sponges clean! This is how all mine Turned out;
I hope you find this helpful, as it is so so important to keep all your brushes clean! Not only does it extend the life of the brushes, it can help improve your skin! If you need any more help on this, please leave a comment and I will get back to you!
No comments:
Post a Comment